My webcam isn't working and how do I switch to another camera on a Windows computer, in Microsoft Teams and Zoom?
Troubleshooting and switching webcams
Windows Computer
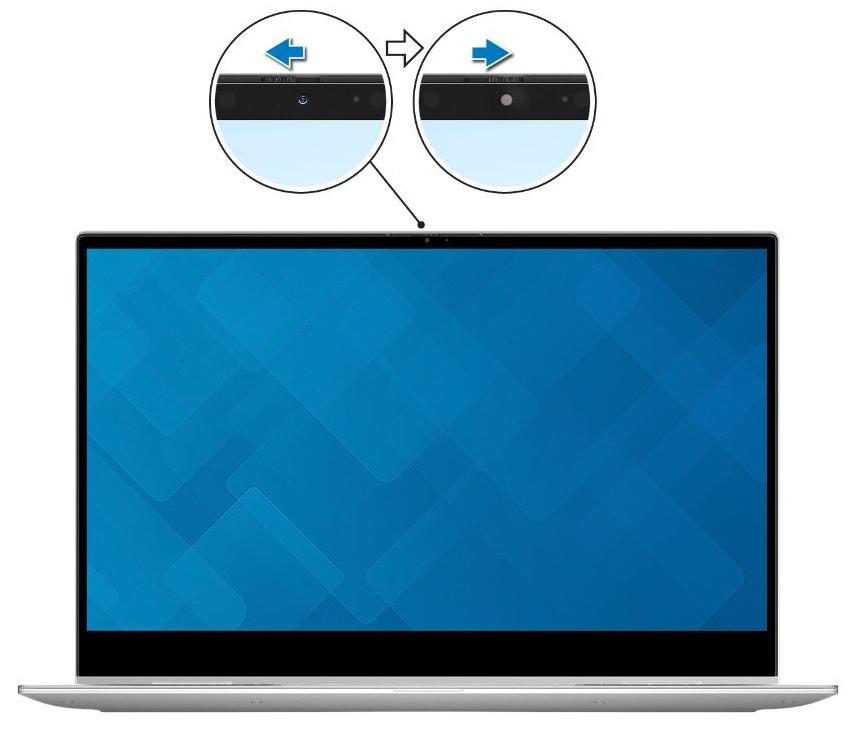
- Some laptop inbuilt webcams have a privacy cover indicated by a red circle or grey diagonal stripes when it is closed. Ensure the privacy cover is off when you want to use it.

- In Teams or Zoom, try switching the camera to another camera or the Virtual Camera and back again.
- Your webcam can only be used with 1 concurrent application. Eg. If the camera app is using your camera then Teams cannot use it. Close the app you're using the camera with then it will unlock the camera for another app to use. You may need to restart the 2nd app before the camera is available again.
- Ensure the app you're using the camera for, eg Microsoft Teams, has permission enabled in Windows Settings > Privacy & security > Camera then restart the app

- If external, connect your webcam to your computer.
- Press the Windows key + X on your keyboard to open the Quick Link menu.
- Click on "Device Manager".
- Expand the "Cameras" or "Imaging devices" category.
- Right-click on the webcam you want to use and select "Enable" if it's disabled. If you don't see the device you want to use, make sure it is properly connected to your computer or try using another USB port.
- Right-click on the enabled webcam and select "Set as Default Device" to make it the default webcam.
- Close the Device Manager and launch your preferred video conferencing app to start using the webcam.
Microsoft Teams
- Click on the three-dot icon, located on the top right corner of the screen.
- Select "Settings" from the drop-down menu.
- Click on "Devices" from the left-hand side menu.
- Under the "Camera" section, select the desired camera device from the drop-down menu.
- Test the camera input by clicking on "Make a test call" or joining a Teams meeting.
Zoom
- Click on your profile picture or initials, located on the top right corner of the screen.
- Select "Settings" from the drop-down menu.
- Click on the "Video" tab from the left-hand side menu.
- Under the "Camera" section, select the desired camera device from the drop-down menu.
- Test the camera input by clicking on "Test Video" or joining a Zoom meeting.
Note: Make sure that the selected webcam is properly connected to your computer and that its drivers are installed and up-to-date to ensure clear video input.
